Vocal chain order: which vocal plugins go where, and why
A vocal chain is the set of plugins a lead vocal runs through, in order: cleanup, pitch correction, EQ cuts, compression, de-essing, saturation, tone EQ, then reverb and delay on sends. Here is what each slot does, why it sits there, and when to move it.
The usual vocal chain order is: cleanup and gain, pitch correction, subtractive EQ, compression, de-essing, saturation, tone EQ, then reverb and delay on send tracks. Each plugin sits where it hands the next one an easier signal. Problems come out before the compressor can react to them, color and brightness go on once the level is steady, and the space stays off the vocal track so the dry voice keeps its clarity.
That is most of what vocal processing is in a mix. Whether you build it from separate vocal plugins or one vocal chain plugin, the slots and the reasons for their order are the same.
Vocal chain order at a glance
| Slot | What it does | Why it sits here |
|---|---|---|
| 1. Cleanup and gain | Edits, clip gain, noise and breath control | Every plugin after it reacts to what it receives |
| 2. Pitch correction | Moves notes to the song's key | It reads the pitch of a clean, dry voice most reliably |
| 3. Subtractive EQ | High-pass, mud and resonance cuts | The compressor stops reacting to rumble and boom |
| 4. Compressor | Evens out the level | It levels the voice, not the problems you removed |
| 5. De-esser | Turns down harsh s and sh sounds | Compression brings the esses up; this puts them back |
| 6. Saturation | Adds harmonics and density | A steady level drives it evenly |
| 7. Tone EQ | Presence and air boosts | The compressor cannot turn the boosts back down |
| 8. Delay and reverb | Depth and space, on sends | Kept off the track, so the dry vocal stays clear |
| Last, optional: limiter | Catches stray peaks | After everything that can add level |
The Vitric plugins named below are ours. Each one appears once, in the slot it was built for, after what your DAW already gives you.
The vocal chain, slot by slot
1. Cleanup and gain
Start before any plugin. Pick the take, cut the noise between phrases and turn down breaths that distract. Then use clip gain to even out whole lines: raise a line sung quietly, pull down a shout, so the compressor gets lines within a few dB of each other and can work gently. If room noise bled into the microphone, noise reduction goes here too, because compression raises the noise along with the quiet words. A noise gate can turn the gaps down automatically. Leave the track peaking well below 0 dBFS so every plugin after it has headroom.
2. Pitch correction
Tuning goes on the dry vocal, ahead of every tone, dynamics and effects plugin. A pitch corrector has to detect the note before it can move it, and it reads a clean, untreated voice most reliably; reverb, delay, chorus or doubling in front of it smear the pitch it is trying to read. Set the song's key and scale, then choose a slow speed for a natural result or the fastest speed for the hard-tuned effect. Several DAWs include pitch correction, and the guide to using autotune and pitch correction lists which and covers the settings.
3. Subtractive EQ
Cut before you compress. A compressor reacts to everything it hears, so low rumble, plosive thumps and a boomy resonance all push it into gain reduction the voice did not need. Take them out first and the compressor responds to the singing. Start with a high-pass filter around 60 to 100 Hz at 12 dB per octave, raise it until the voice thins, then back it down. Cut 1 to 3 dB between 200 and 400 Hz if the voice sounds boxy, and look for a narrow resonance between 800 Hz and 1.5 kHz if it sounds nasal. The vocal EQ guide has the full chart.
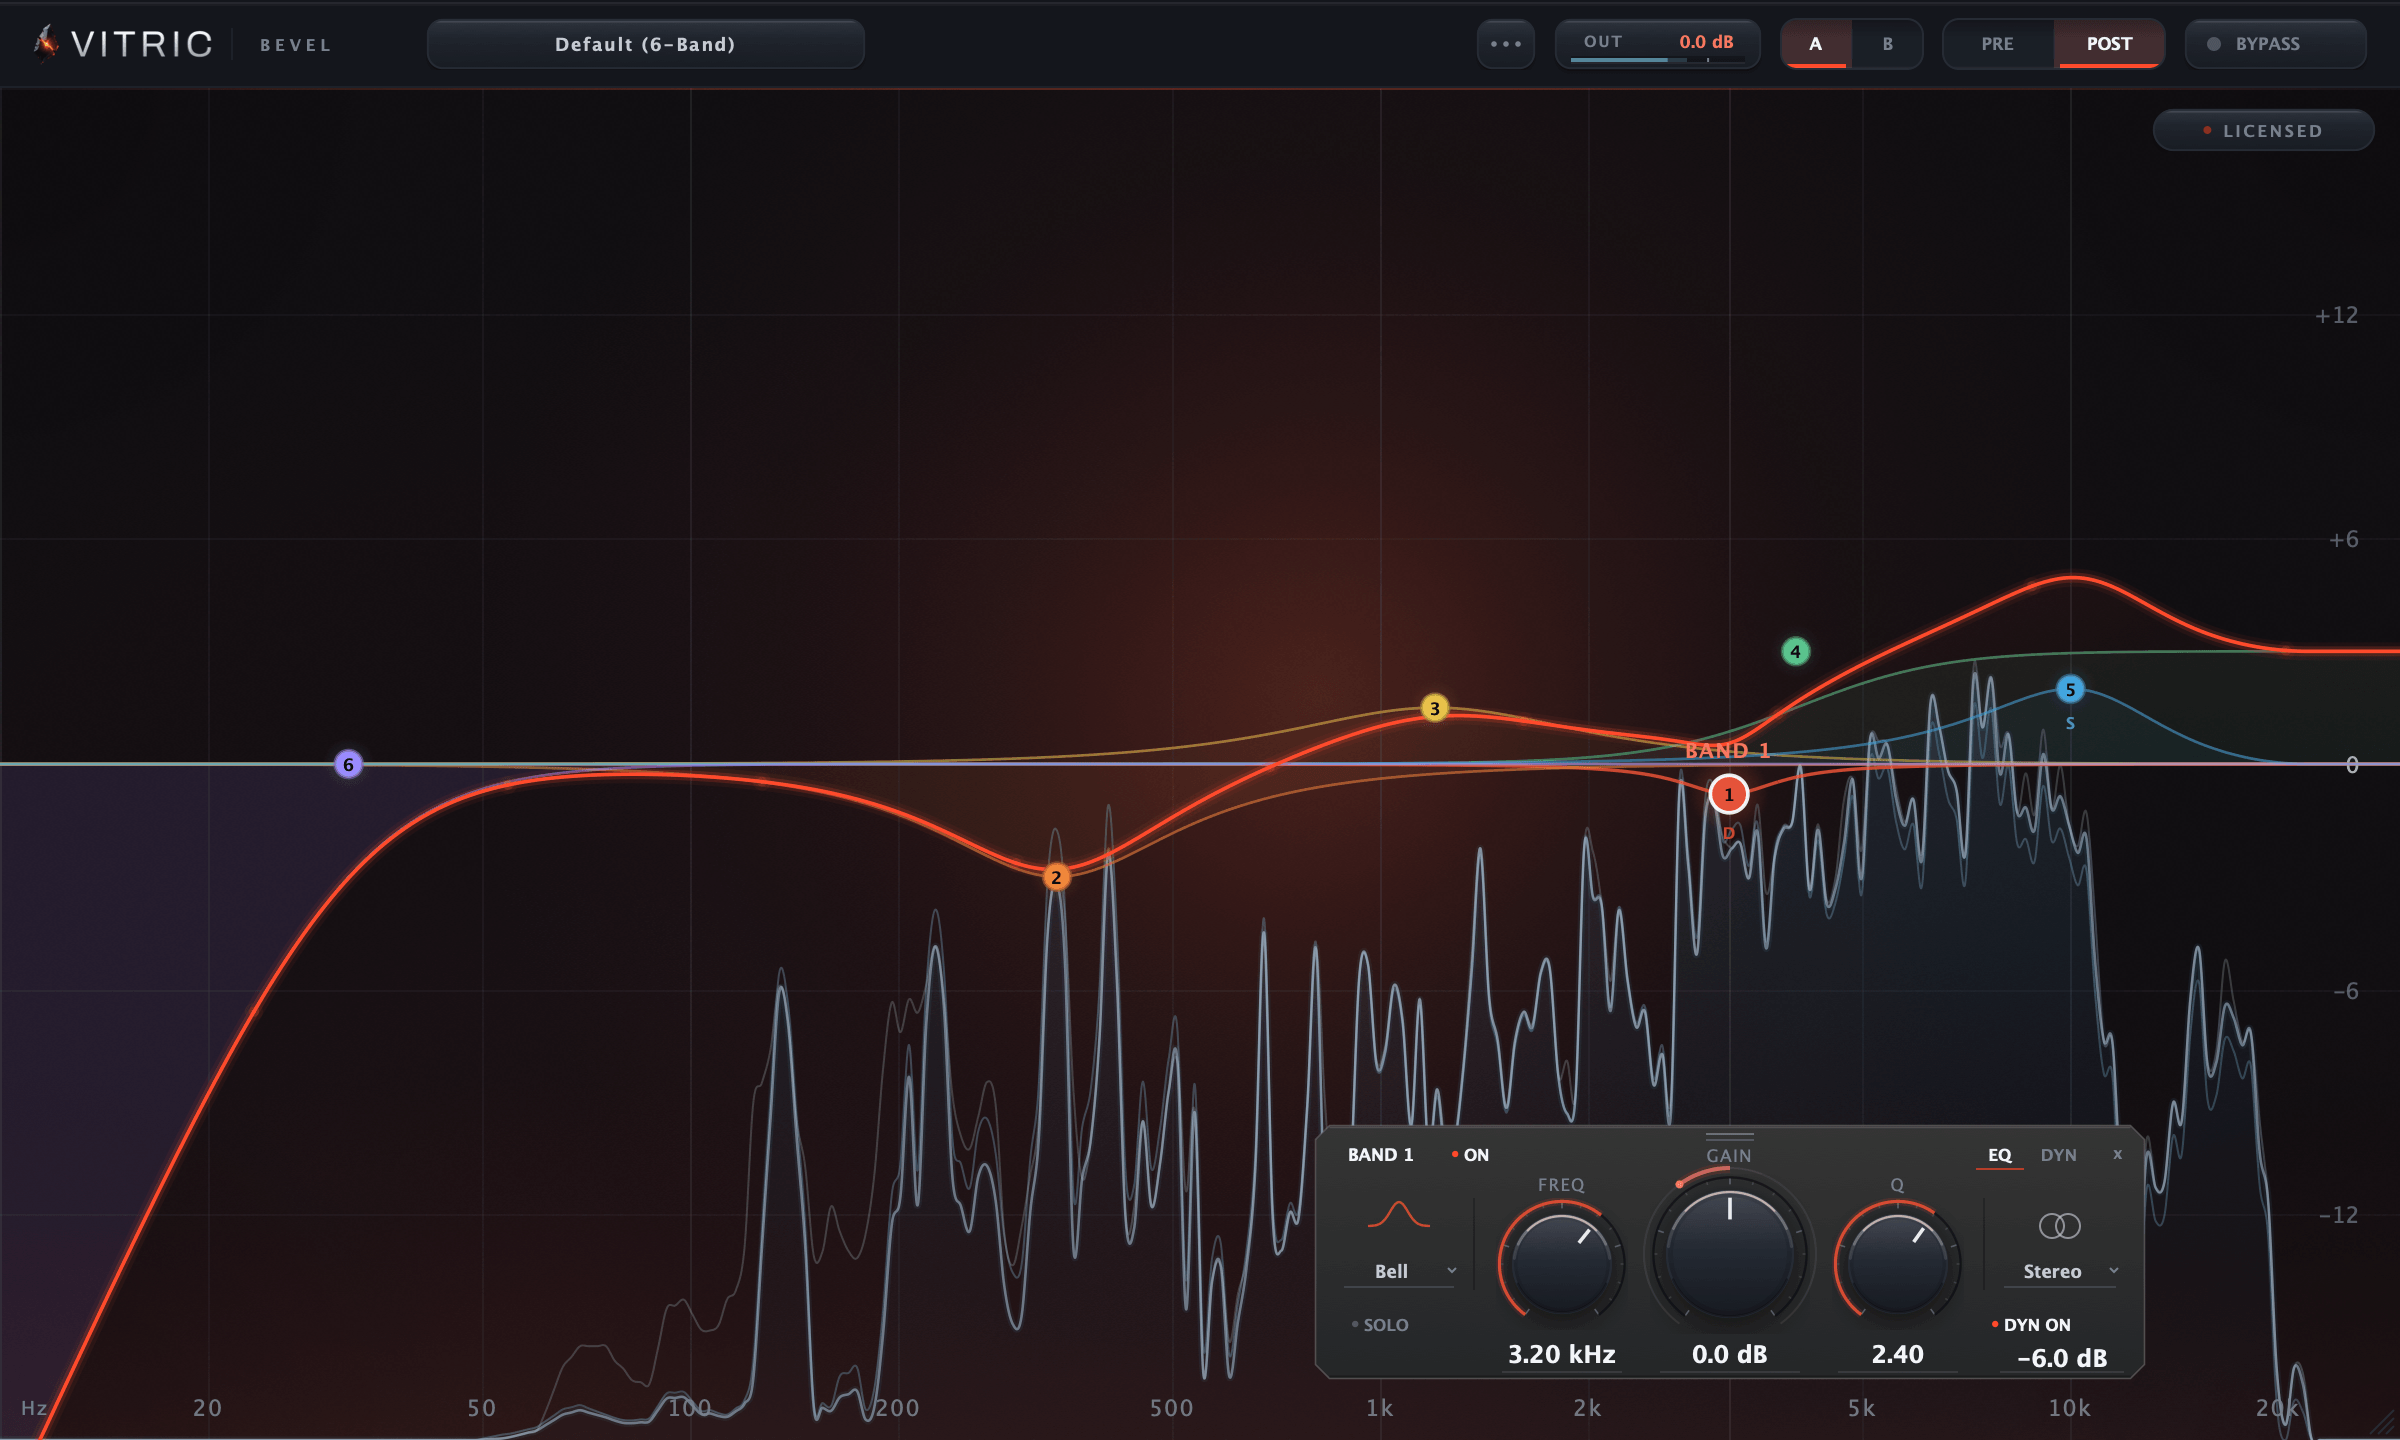
Bevel EQ suits this slot when a resonance comes and goes: its bells and shelves can be dynamic, so a band cuts only while that note rings and leaves the rest of the take alone.
4. Compression
The compressor evens out the level, so quiet words stay audible and loud ones stop jumping out. Start around 3:1 with a 15 ms attack and a 100 ms release, and lower the threshold until most phrases show 3 to 6 dB of gain reduction. Match the output to the bypassed level before you judge it, because louder always sounds better at first. It sits after the cleanup and the cuts so it levels the voice itself, and before the color and the brightness so those land on a steady signal. The vocal compression guide goes through each control.
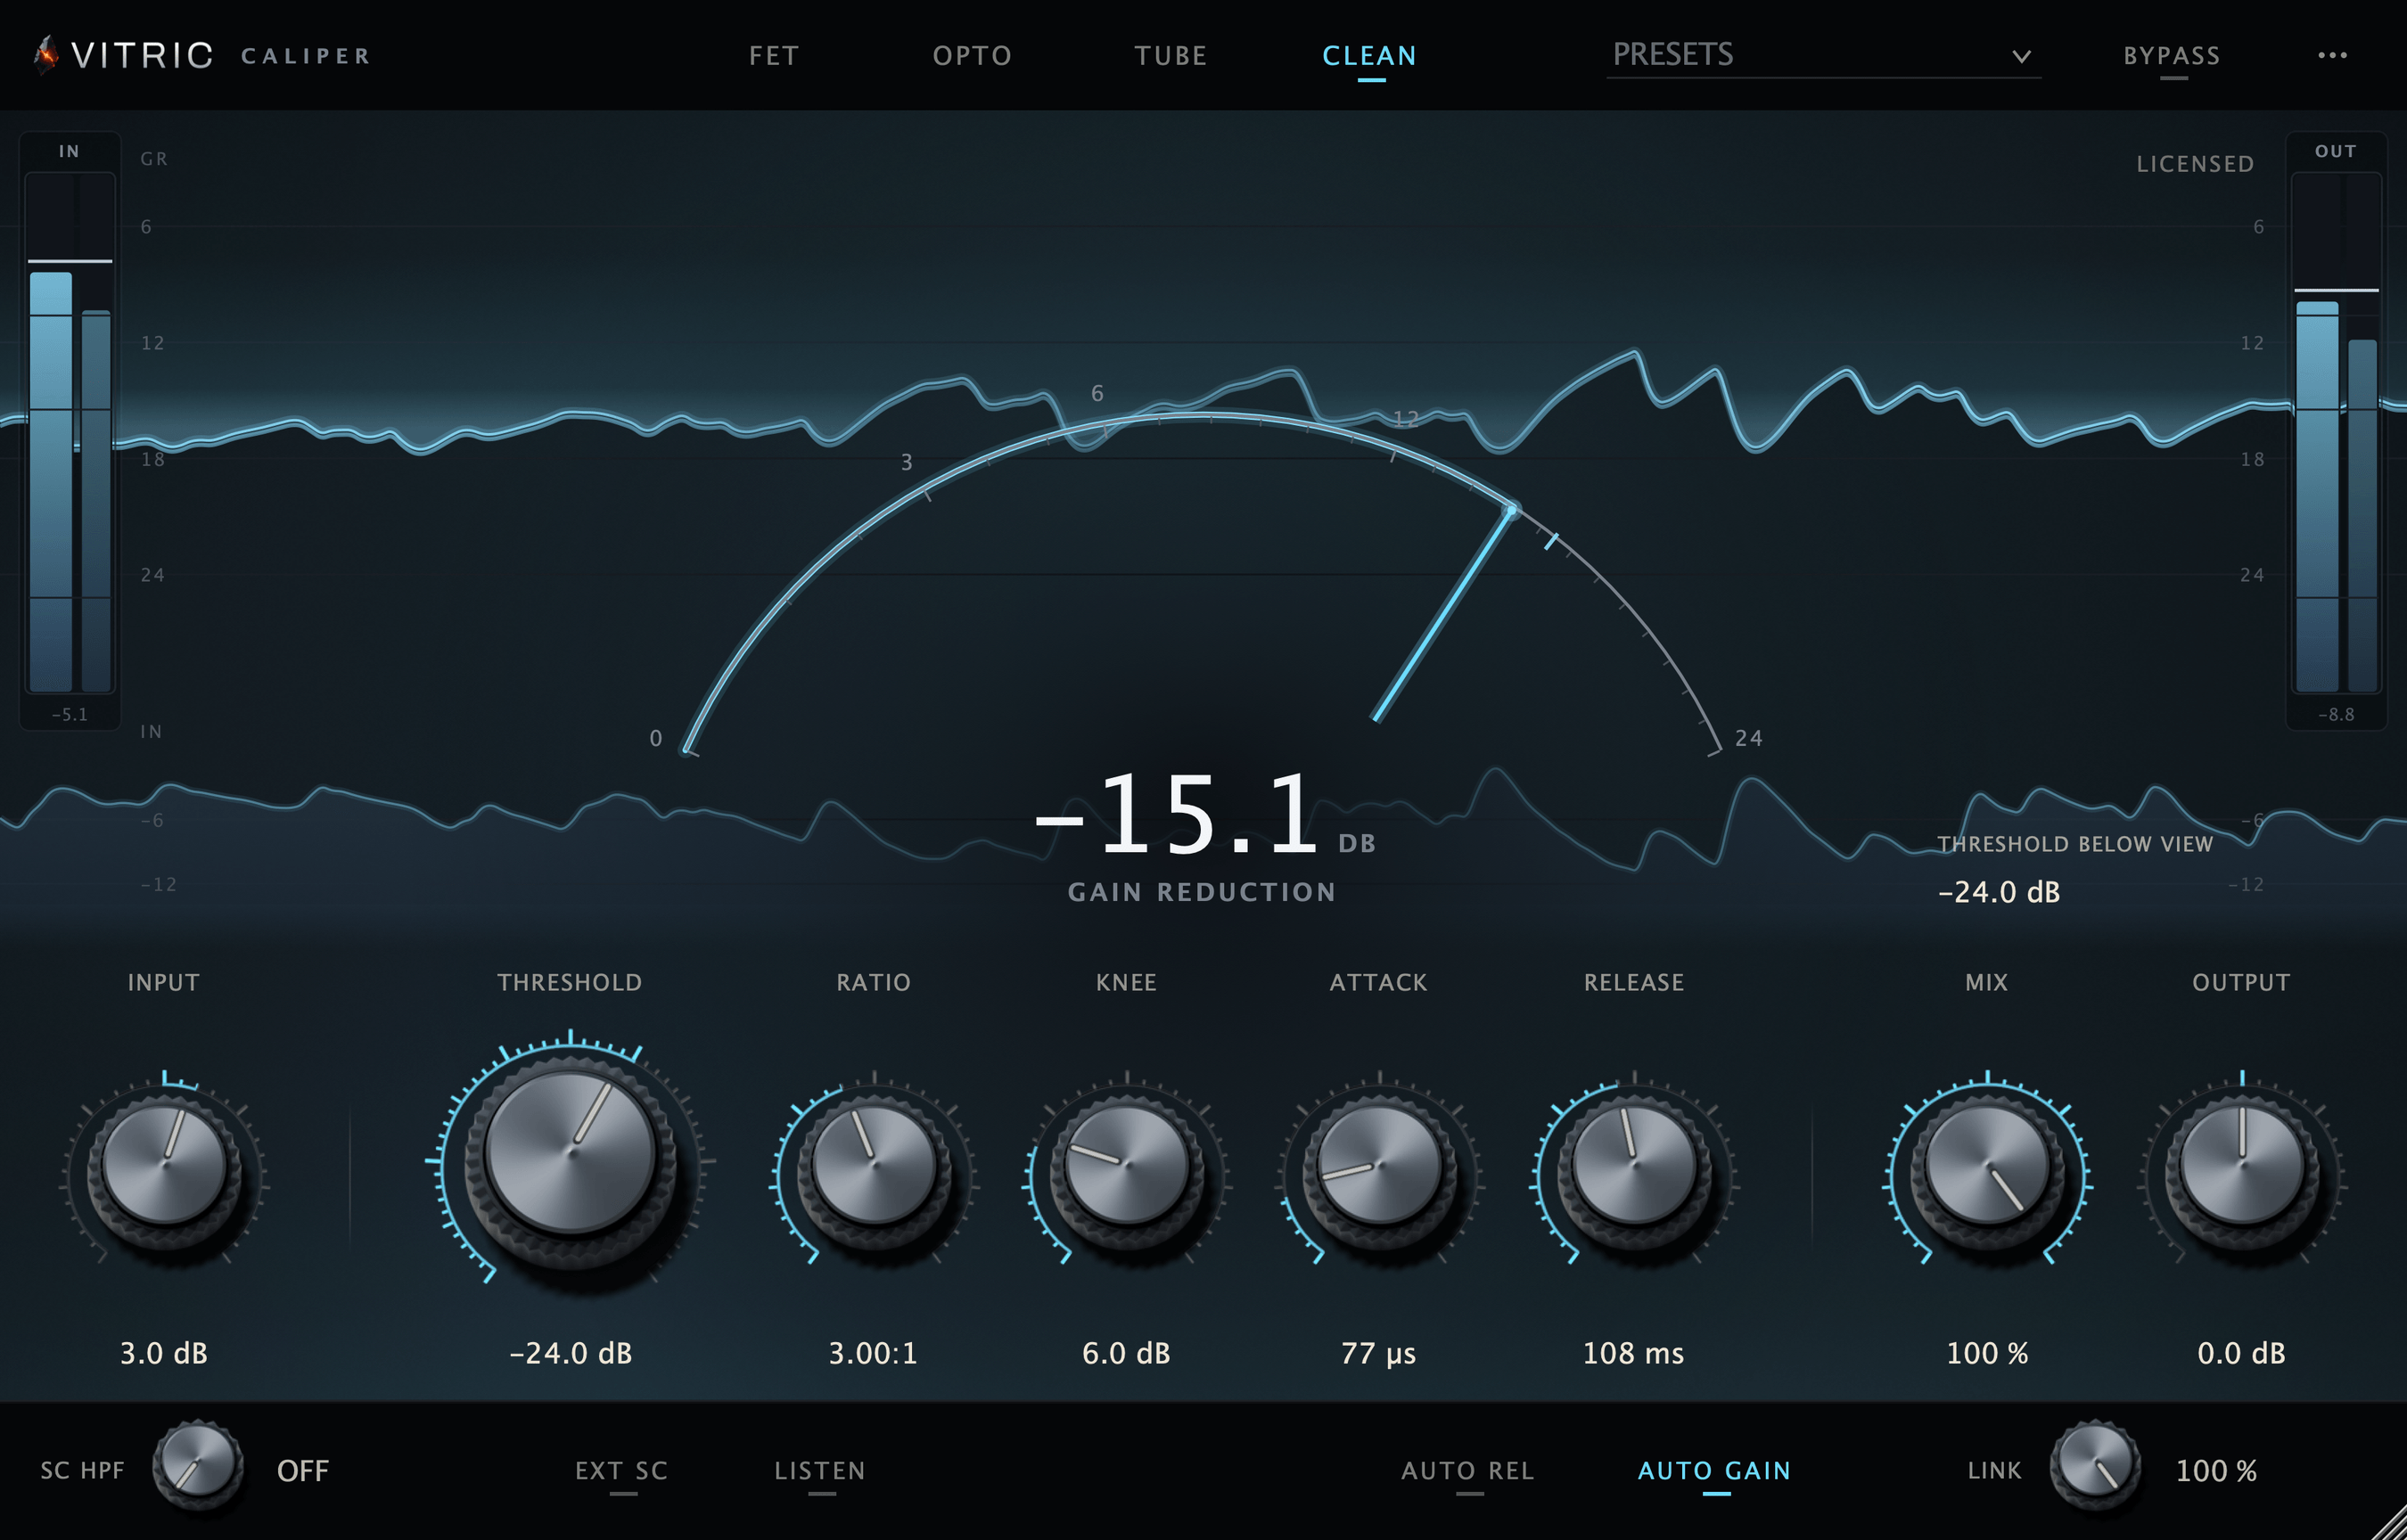
Caliper Compressor puts four compressor characters in one window: FET for a fast, driven catch, Opto for smooth leveling, Tube and Clean, with a Mix control for parallel blends.
5. De-esser
Compression turns the loud vowels down more than the quieter consonants, so after it the esses stand out more than they did in the raw take. A de-esser listens to the sibilance band, often somewhere between 5 and 9 kHz, and turns it down only while an s or sh is sounding, which a static EQ cut cannot do without dulling every word. Cap the reduction at a few dB and listen to what is being removed: it should be hiss, not words.
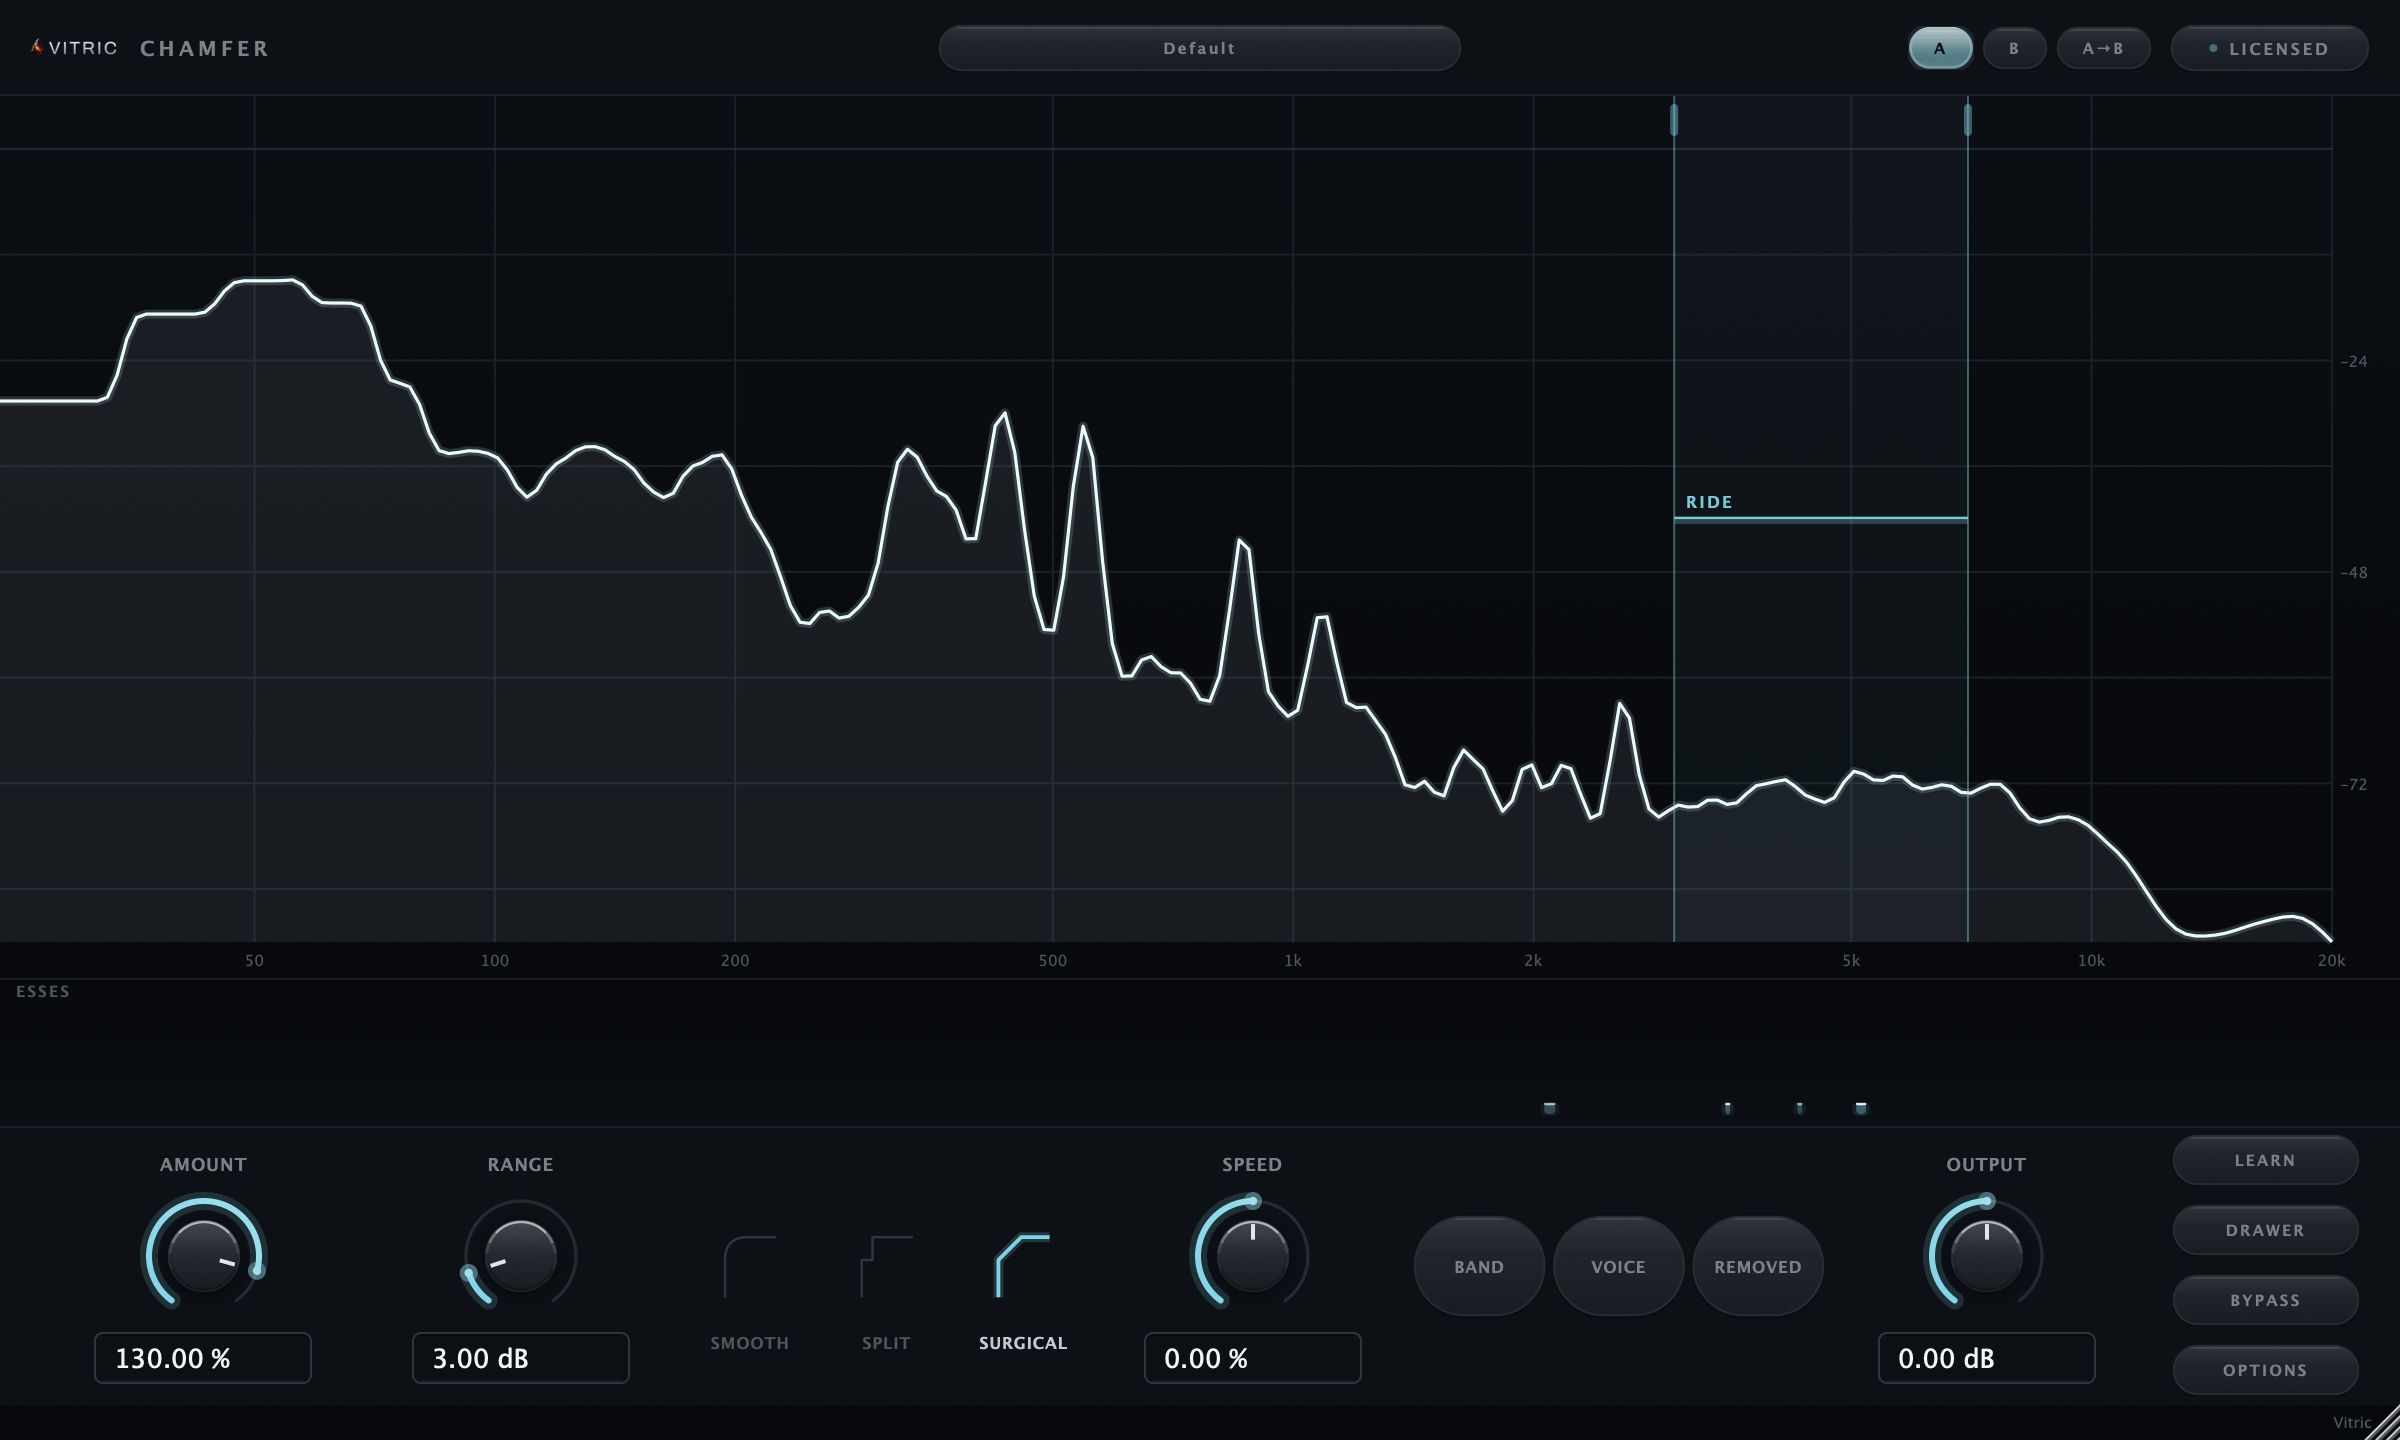
Chamfer De-Esser can set its threshold relative to the vocal's level instead of at one fixed value, which helps when a quiet verse and a loud chorus share one track.
6. Saturation
Saturation adds harmonics. A little makes a vocal denser and easier to hear on small speakers; more makes it gritty. After the compressor it receives a steady level, so it colors every phrase by about the same amount. Put it before the compressor and the loudest words get the most drive, and the compressor then reacts to the added harmonics. That is a different sound, not a wrong one, and saturation before or after compression compares the two. Saturation also adds upper harmonics to the esses, so listen to them again after this slot.
Stoke Saturator has four knobs, Drive, Tone, Mix and Output, and its Auto switch compensates the level as you raise Drive, so you judge the color rather than a jump in volume.
7. Tone EQ
Now shape the tone you want to hear: a broad 1 to 2 dB lift around 2 to 4 kHz for presence, a gentle high shelf for air. These boosts come after compression, so the compressor cannot turn them back down or react to them. Use a second EQ here rather than the one from slot 3, so the cuts and the boosts stay separate and easy to bypass. An air shelf brightens the esses too. If they come back, move the de-esser after this EQ or add a second, lighter one here; the de-esser guide places it after the brightening EQ for that reason.
8. Delay and reverb, on sends
Delay and reverb go on send tracks (also called aux or return tracks), set 100% wet, with the vocal feeding them through a send. That keeps the dry voice untouched in front, lets you EQ and duck each effect on its own, and lets other parts share the same space. A reverb inserted before the compressor gets squeezed with the voice: the compressor turns down the loud words but not the quieter tail, so the tail swells up between them. On the sends, cut the lows and some of the highs, and duck the effect under the vocal so it fills the gaps between words. Time both to the song: the free delay calculator gives every note value in milliseconds, and the reverb calculator gives a pre-delay and decay to match.
Halo Reverb ducks its tail with the dry signal, so the reverb drops while the singer sings and opens up in the gaps. Colonnade Delay runs two delay engines in one plugin, so a close repeat and a longer echo can share one send.
Where a limiter or clipper fits
A vocal track rarely needs either. If a few peaks still jump out after compression, a limiter last on the track, after everything that can add level, can catch 1 or 2 dB of them. A clipper flattens them instead, which adds distortion that is easy to hear on long, clean notes. Clip gain or a fader ride on those words is often cleaner. The limiter's main job is at the end of the master: see limiter vs clipper.
Clearwall Limiter is built for that master slot: a true-peak limiter in three styles, Clear, Punch and Dense, with a loudness target that Learn Drive sets the Drive to meet.
Common variations
De-esser before or after the compressor
Both are standard. After is the default above. Move the de-esser in front of the compressor when loud esses make it clamp down on every s, so the whole word dips. On a bright, heavily compressed vocal, use two light passes, one before the compressor and one after it, each taking 2 to 3 dB, and check that together they do not turn an s into a th.
Two compressors in series
When one compressor cannot catch the peaks and level the phrases without sounding strained, split the job. A fast one first, around 4:1 with a short attack, takes 1 to 3 dB off the peaks; a slower one after it, around 2:1, takes another 2 to 3 dB across the phrase. Each works gently, so neither pumps. A common pairing is a FET-style compressor into an opto-style one.
Doubles and backing vocals on a bus
Route the doubles and backing vocals to one bus and process the bus: a single de-esser there cleans up a whole stack, and one compressor makes it move together. Send the bus to the same reverb as the lead, or a slightly longer one, so the stack sits behind it. The vocal doubling guide covers panning and level.
Can stock plugins fill every slot?
Yes. Your DAW's own plugins can fill every slot in this chain. Logic Pro has one for each, including Pitch Correction, Channel EQ, Compressor, DeEsser 2, ChromaVerb and Tape Delay. Ableton Live has EQ Eight, Compressor, Saturator, Reverb and Delay; FL Studio has Fruity Parametric EQ 2, Fruity Limiter (which also compresses), Fruity Reeverb 2 and Fruity Delay 3; REAPER has ReaEQ, ReaComp, ReaTune, ReaVerbate and ReaDelay. Where a DAW has no dedicated de-esser, a dynamic EQ band or the top band of a multiband compressor, set on the harsh range, does the job. A paid plugin buys speed and specific features, not a different order. The guide to essential mixing plugins goes through each type with the stock option first.
The whole chain in one plugin
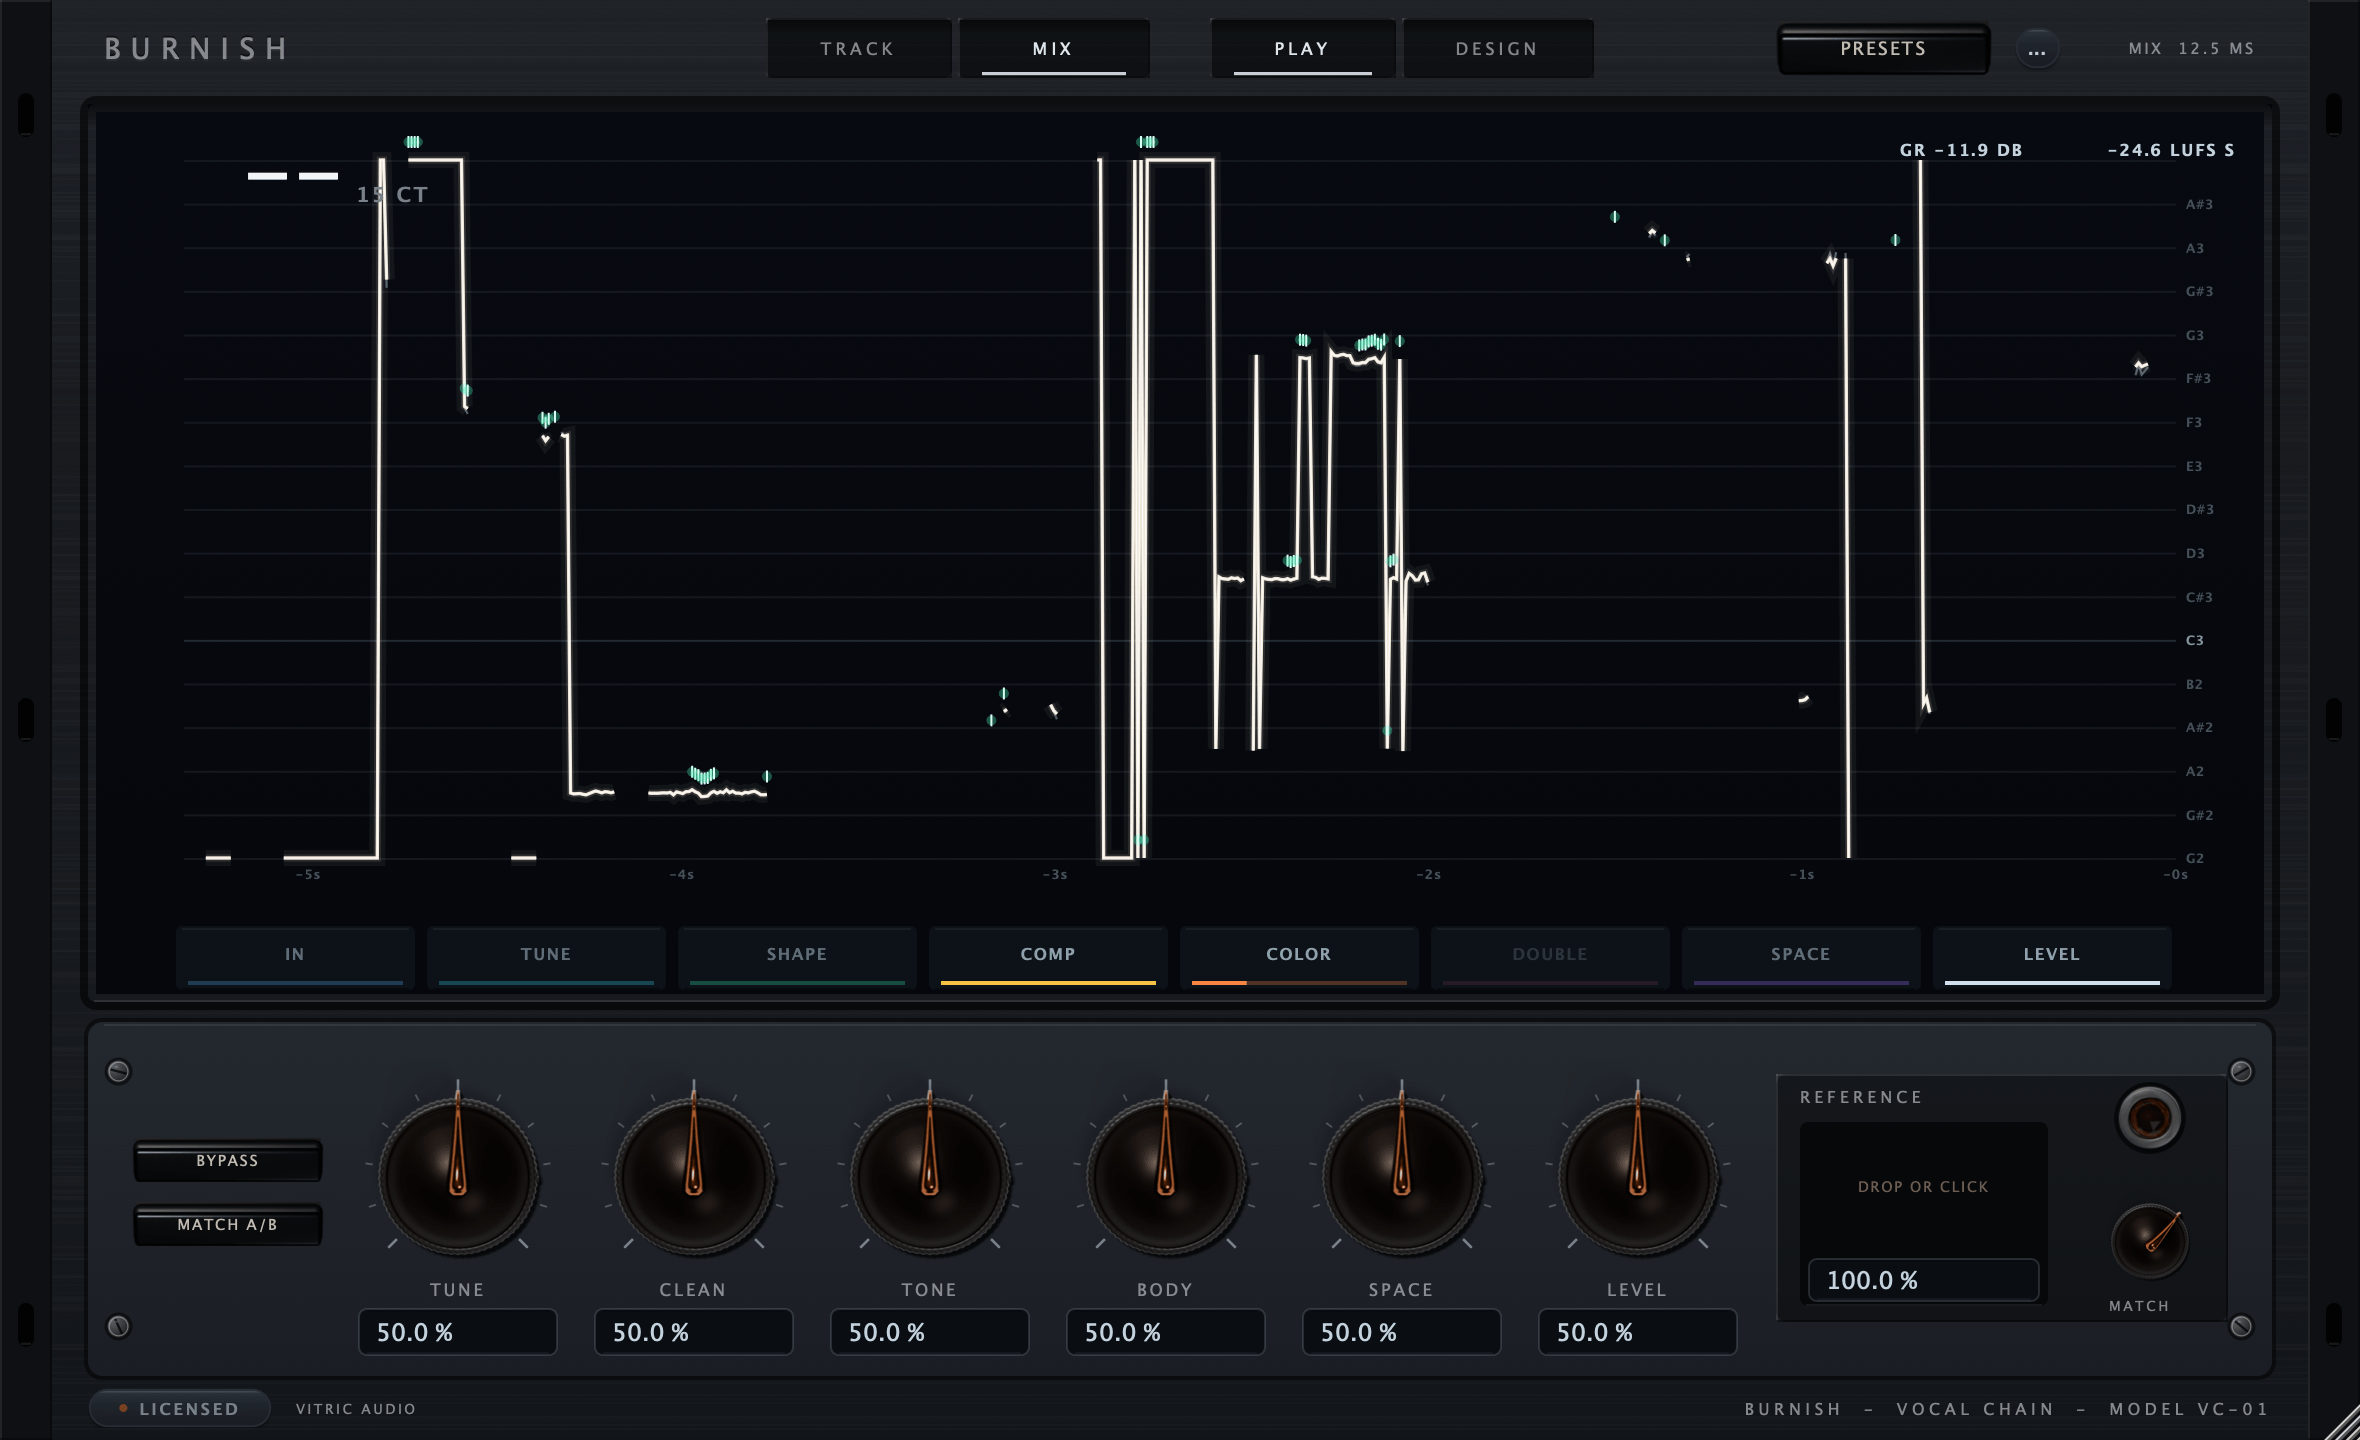
Burnish Vocal Chain runs this chain inside one window, in eight stations: IN (trim, high-pass, gate, breath control and cleanup), TUNE, SHAPE (a five-band EQ, de-harsh and a de-esser), COMP (FET into Opto), COLOR (saturation and air), DOUBLE, SPACE (delay and reverb with vocal ducking) and LEVEL (a loudness rider, a safety limiter and output trim). Two differences from the order above: its de-esser comes before compression, the first variation, and its delay and reverb run inside the plugin instead of on sends.
Questions
What is the correct order for a vocal chain?
A common order is cleanup and clip gain, pitch correction, subtractive EQ, compression, de-essing, saturation, tone EQ, then reverb and delay on sends. It is a starting point, not a law: move a plugin when the vocal sounds better for it.
Should the de-esser go before or after the compressor?
Either works. After is the usual default, because compression brings the esses up relative to the vowels. Put it before when loud esses make the compressor clamp down on every s, or use two light passes, one in each place.
Does EQ go before or after compression on vocals?
Both, for different jobs. Cut rumble, plosive thumps and boomy resonances before the compressor so it does not react to them, and make broad tone boosts after it.
Where does autotune go in the vocal chain?
Early, on the dry vocal: after cleanup, before EQ, compression and effects. A pitch corrector reads a clean, untreated voice most reliably, and reverb, delay or chorus in front of it make the pitch harder to detect.
What vocal plugins do I need?
An EQ, a compressor, a de-esser, a reverb and a delay cover most vocals, with pitch correction and saturation when the song calls for them. Your DAW's stock plugins can fill every one of those slots.