How to compress vocals: settings for ratio, attack, release and gain reduction
Vocal compression settings for spoken, sung and rap leads. Set ratio, attack, release and gain reduction, then try two compressors for steadier phrases.
Vocal compression reduces level differences within a performance so quiet words stay audible and loud phrases stop jumping out. The aim is a vocal you can follow without riding the volume knob. Start with moderate settings, listen against the backing track, and preserve the consonants that make each word clear.
Why do vocals need compression?
A voice can move from a breathy ending to a forceful vowel within one line. Delivery and distance from the microphone change the recorded level too. Set the fader for the loudest phrase and quieter words disappear; raise it for those words and the next shout takes over. Compression for vocals reduces that gap while leaving room for expression.
In music, audio compression controls dynamics rather than file size. The same principle applies to instruments and buses, but a lead voice needs particular care around syllables. The dynamic range compression guide explains the underlying controls.
When should you use clip gain or automation first?
If one line is much quieter than its neighbors, raise its clip gain before compression. Lower isolated shouts or plosives the same way. A few dB of editing can stop one event from forcing a setting that crushes the rest of the take. Keep natural emphasis; do not make every waveform the same height.
Use pre-compressor gain automation for larger section changes. Use volume automation after compression to place words against the arrangement. Check your routing: a gain move before the compressor changes how hard it works; one after it changes the finished level. Compression cannot decide which lyric needs emphasis.
Vocal compressor settings to start with
| Lead style | Ratio | Attack | Release | Gain reduction |
|---|---|---|---|---|
| Spoken-style lead | 2:1 | 10 ms | 80 ms | 3 to 4 dB on most phrases |
| Sung lead | 3:1 | 20 ms | 120 ms | 3 to 6 dB on most phrases |
| Rap vocal | 4:1 | 10 ms | 60 ms | 4 to 6 dB on most phrases |
These are settings to audition on a compressor with adjustable timing, not genre rules. For speech, keep sentence endings clear without pulling breaths forward. For singing, let sustained vowels settle without flattening the entrance. For rap, check that quick syllables stay distinct against the drums.
Ratio: start between 2:1 and 4:1
Ratio sets how strongly level rises are restrained above threshold. At 3:1 with a hard knee, a steady input 6 dB above threshold becomes 2 dB above it before makeup gain: 4 dB of reduction. Timing and a soft knee change that result during real words. Try 2:1 for gentle leveling and 4:1 when peaks need a firmer hold.
Attack: keep the consonant bite
Audition about 5 to 30 ms. Attack controls how quickly reduction builds; it is not a delay before compression switches on. If word beginnings turn soft, lengthen it toward 20 to 30 ms. If they still jab forward, shorten it toward 5 to 10 ms. Do not chase one rogue peak at the expense of the whole delivery.
Release: recover with the phrase
Start around 40 to 150 ms. Shorten release if reduction carries into the next quiet word. Lengthen it if breaths surge or the level chatters between syllables. The meter need not return to zero between every syllable; listen for an even recovery.
Tempo can supply a starting time: when a beat is a quarter note, it lasts 60,000 divided by BPM milliseconds. At 120 BPM, a sixteenth note is 125 ms. Try that release, then adjust to the actual phrasing. A release setting does not guarantee complete recovery on that beat, and equal times can behave differently across compressors.
How do you set the threshold by ear?
- Loop a useful passage. Include a quiet ending, a normal line and a loud word, with the backing track playing.
- Begin above the action. Raise threshold until little or no compression happens. Set ratio and timing first.
- Lower it gradually. Watch the gain-reduction meter start moving on louder words. Continue until most phrases reach roughly 3 to 6 dB, stopping sooner if the voice loses life.
- Match the output. Use makeup or output gain to compare at similar perceived loudness. Check any automatic makeup by ear rather than trusting it to match perfectly.
- Compare the words. Before, the opening vowel may dominate while the ending vanishes. After, the vowel should sit back enough that the ending is easier to follow at the chosen mix level. If only the overall volume improved, revisit the fader and the compression settings.
There is no universal threshold in dBFS: it depends on the recorded level and everything feeding the compressor. Recheck it after changing input gain or upstream EQ. Then leave the loop and listen through both verse and chorus.
How much gain reduction is enough?
Use 3 to 6 dB on most phrases as a working range, not a quota. An already even take may need less. For a dense rap or forceful rock vocal, audition 8 to 10 dB on louder phrases if you want that firm, held sound. More reduction is useful only while articulation and intent survive.
If every phrase pins the meter, breaths dominate, or the vocal seems smaller at matched loudness, ease the threshold up. If only a few words still vanish, automate them. Heavy compression across the whole take is a poor repair for two quiet endings.
Should you use two compressors in series?
Try two light stages when one compressor cannot catch peaks and level phrases without sounding strained. Start the first at 4:1, 5 ms attack and 60 ms release, catching only 1 to 3 dB on peaks. Follow it with 2:1, 25 ms attack and 120 ms release for another 2 to 3 dB across the phrase. Set the second threshold with the first active; the first stage changes what the second receives.
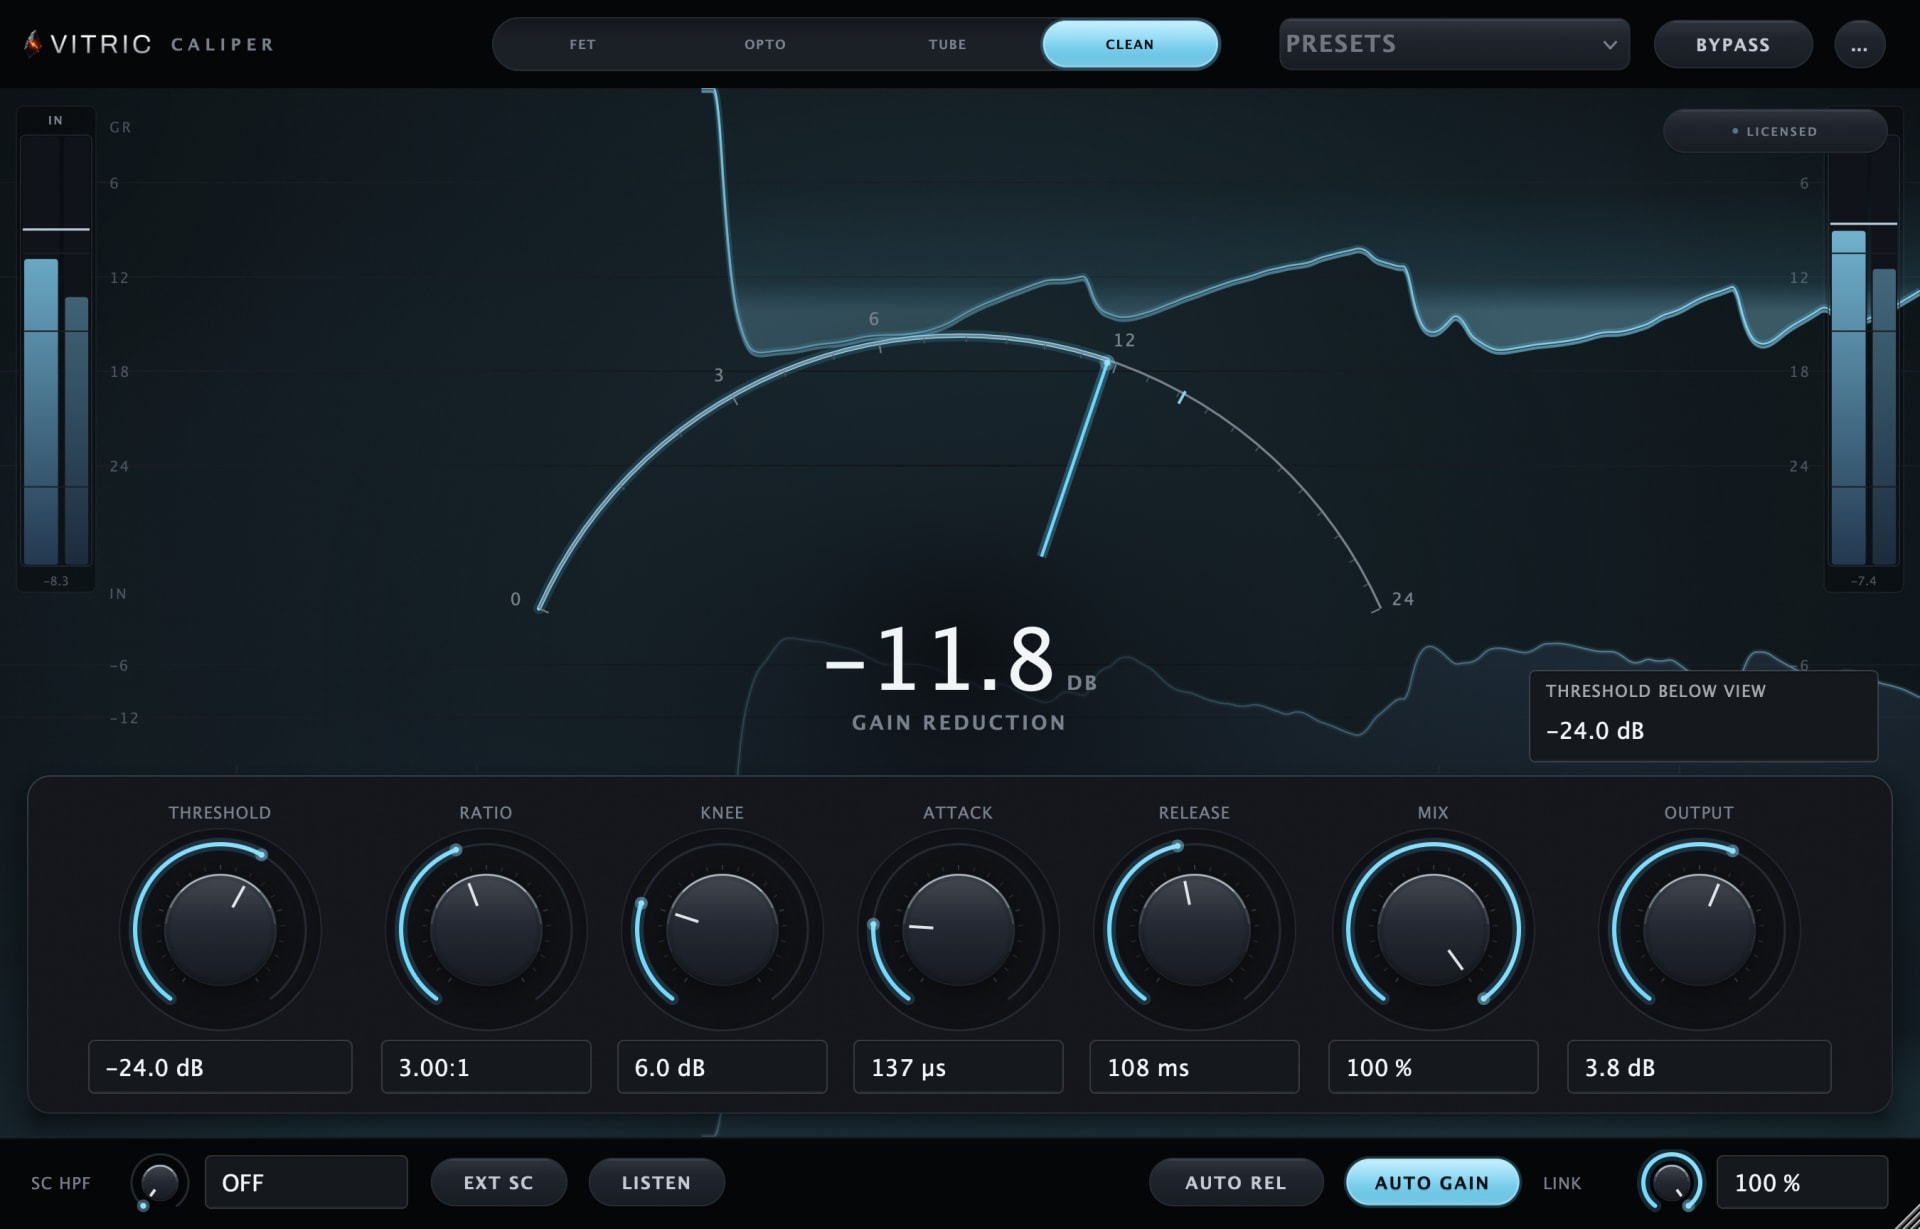
Caliper Compressor's Clean mode supplies threshold, ratio and manual timing for these exercises. Turn AUTO release off to try the listed times. Its FET attack works in microseconds, and Opto uses fixed timing, so those modes cannot copy this table. The FET vs opto guide explains choosing by response.
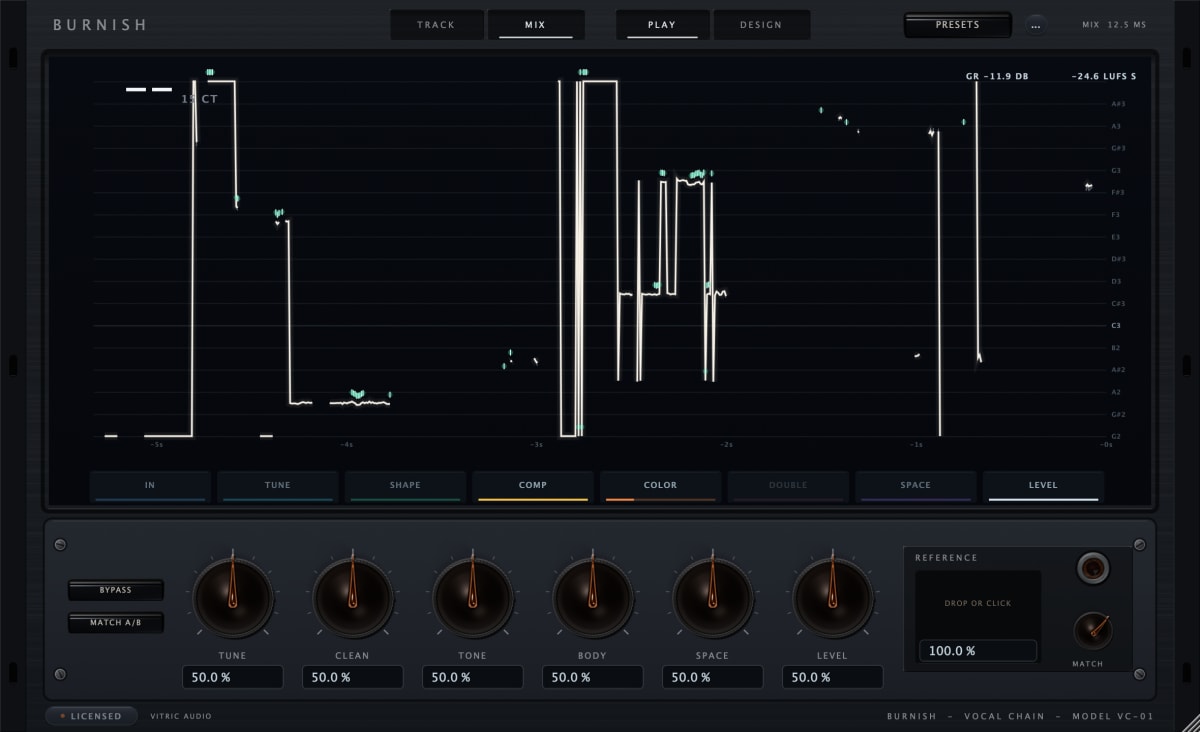
Burnish Vocal Chain already runs FET into Opto in COMP, with separate enables and blends. Start with FET catching sharper peaks and Opto handling broader leveling. Its manual explains automatic Amount and Speed versus MANUAL controls.
Can parallel compression add body?
Parallel compression blends a compressed path with the dry voice. Try 4:1, 5 ms attack and 80 ms release on the wet path, lowering threshold for 8 to 10 dB of reduction on strong phrases. Bring that path up quietly under the dry vocal until the body fills in. Back it off if breaths or room noise become distracting.
Caliper's Mix control provides this blend without a separate bus. On an aux, keep the compressor fully wet so the original track supplies the dry voice. Check alignment if blending makes the voice hollow; the zero latency compression guide covers parallel paths.
Where do EQ, de-essing and saturation go?
Start with corrective EQ, compression, then de-essing as needed. Removing unwanted rumble first can stop it driving gain reduction. Use the vocal EQ starting points for tonal problems. If strong esses trigger the compressor, try de-essing before it instead. If they stand out after leveling, treat them afterward.
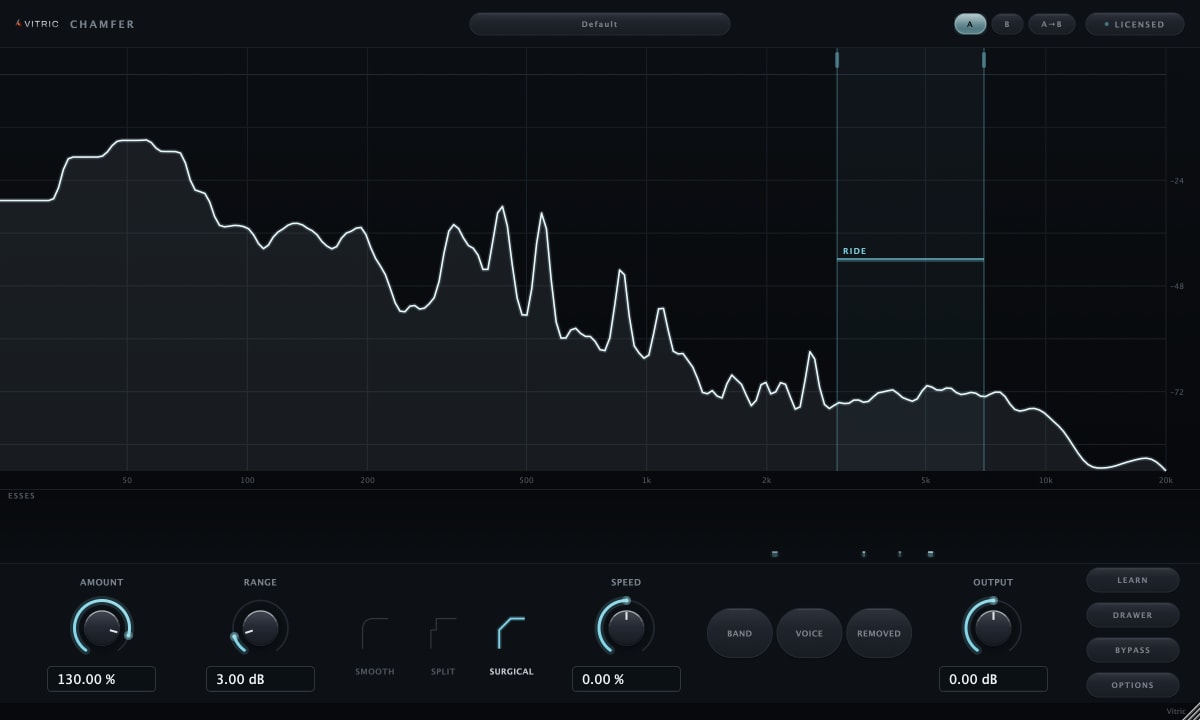
Chamfer De-Esser lets you learn a detection band, set Amount, cap reduction with Range and audition Removed. Keep whole words intact; the de-esser guide explains what to listen for.
Saturation before compression changes what drives the detector; afterward it colors the leveled voice. Compare both at matched output using the saturation order guide. Burnish has a fixed order: SHAPE's EQ and de-esser precede COMP, then COLOR adds saturation. Recheck sibilance after COLOR and use a separate de-esser afterward if needed.