JournalStudio notes
Reverb pre-delay: give the part space before the tail
Pre-delay sets the gap before a reverb begins. Decay shapes the tail after it. Use this listening exercise and worked timing table to choose each for a different reason.
Reverb pre-delay is the time between the incoming sound and the start of the reverberated response. Decay describes how the response fades after it begins. If a vocal loses its definition when you add reverb, those are two separate decisions: how soon the room arrives, and how long it occupies the gaps in the performance.
Start with the part in the mix. A tempo calculation can give you a repeatable starting point, but it cannot decide how close a singer should feel or how much room the arrangement has for a tail.
What changes when you turn up pre-delay?
Keep the reverb level and decay fixed, then raise pre-delay. You create a larger gap between the direct sound and the wet response. That can leave the beginning of a word or a drum hit easier to hear before the reflections arrive. It also changes the sense of space; a longer gap is not automatically more natural or more useful.
Push it far enough and the wet onset may become a separate rhythmic event. That can be an intentional effect. If you wanted one coherent room, however, listen for a distracting second attack or a gap that makes the reverb feel disconnected from the part.
Pre-delay, decay and ducking solve different problems
| Control | Changes | Try it when |
|---|---|---|
| Pre-delay | When the wet response starts | The attack needs separation from the reflections |
| Decay | How the tail fades | The ambience carries too far into the next phrase |
| Ducking | The wet level while the source is active | You want a tail in the gaps but less ambience under the words |
Pre-delay does not shorten the tail. A long decay can still cover the next line even when the first consonant is clear. Ducking changes level over time rather than simply moving the response later. It is worth trying when you like the length of the reverb in the gaps but not the amount beneath the vocal itself.
A vocal pre-delay exercise you can repeat
- Choose a revealing phrase. Loop a few words with a clear beginning, a sustained vowel and a pause. Include the main instruments so you judge the reverb in its actual space in the mix.
- Establish the routing. On a parallel aux return, set the reverb fully wet so the original track supplies the direct signal. On an insert, use its dry/wet control instead. Keep the routing and levels unchanged throughout this comparison.
- Move only pre-delay. Compare 0, 20, 40 and 60 ms as an experiment, not a prescribed range. Listen to the start of the words and the wet onset. Back down if the reverb begins to sound like a second hit when that is not the effect you want.
- Set decay against the pause. Once the onset works, adjust the tail while listening to the gap and the next phrase. Do not assume that the plugin’s decay number is the exact moment at which its output becomes silent.
- Return to the full mix. Compare the alternatives at a similar perceived level. A louder or brighter return can win the comparison without making the words any clearer.
If every setting feels cloudy, timing may not be the main problem. Try reducing the return level or filtering the wet low end while preserving the original vocal. If consonants trigger a bright tail, compare de-essing before the send with processing the wet return. Each changes a different part of the signal; keep the version that solves the problem with the least unnecessary processing.
How do you calculate pre-delay from BPM?
A quarter note lasts 60,000 ÷ BPM milliseconds. A 1/64 note is one sixteenth of that quarter-note duration. At 120 BPM, the quarter note is 500 ms, so a 1/64-note pre-delay is 31.25 ms. A 1/32 note is 62.5 ms.
You do not have to use either. Compare the calculated value with a slightly shorter and longer one using the same phrase. The syllable lengths, playing style and arrangement may matter more than a neat note division. Dotted values multiply a straight value by 1.5; triplets multiply it by two thirds.
| BPM | 1/64 pre-delay (ms) | Decay budget (s) |
|---|---|---|
| 90 | 41.67 | 1.292 |
| 100 | 37.50 | 1.163 |
| 120 | 31.25 | 0.969 |
| 128 | 29.30 | 0.908 |
| 140 | 26.79 | 0.830 |
For example, two beats at 120 BPM give a 1,000 ms budget. Subtract 31.25 ms of pre-delay and the remaining decay budget is 968.75 ms, or about 0.969 seconds. Our free reverb calculator does this calculation for your tempo, note division and desired number of beats. The delay-time calculator provides a wider note-value chart for repeats and modulation rates.
Why a calculated decay is not a gate
Reverb decay is often described using RT60: the time for a response to fall by 60 dB, rather than a hard stop. Frequency-dependent decay, the input signal and the selected algorithm affect what you hear. A finite or gated reverb behaves differently again. Treat a calculated duration as a setting to audition, not a promise that the next beat will contain no reverb.
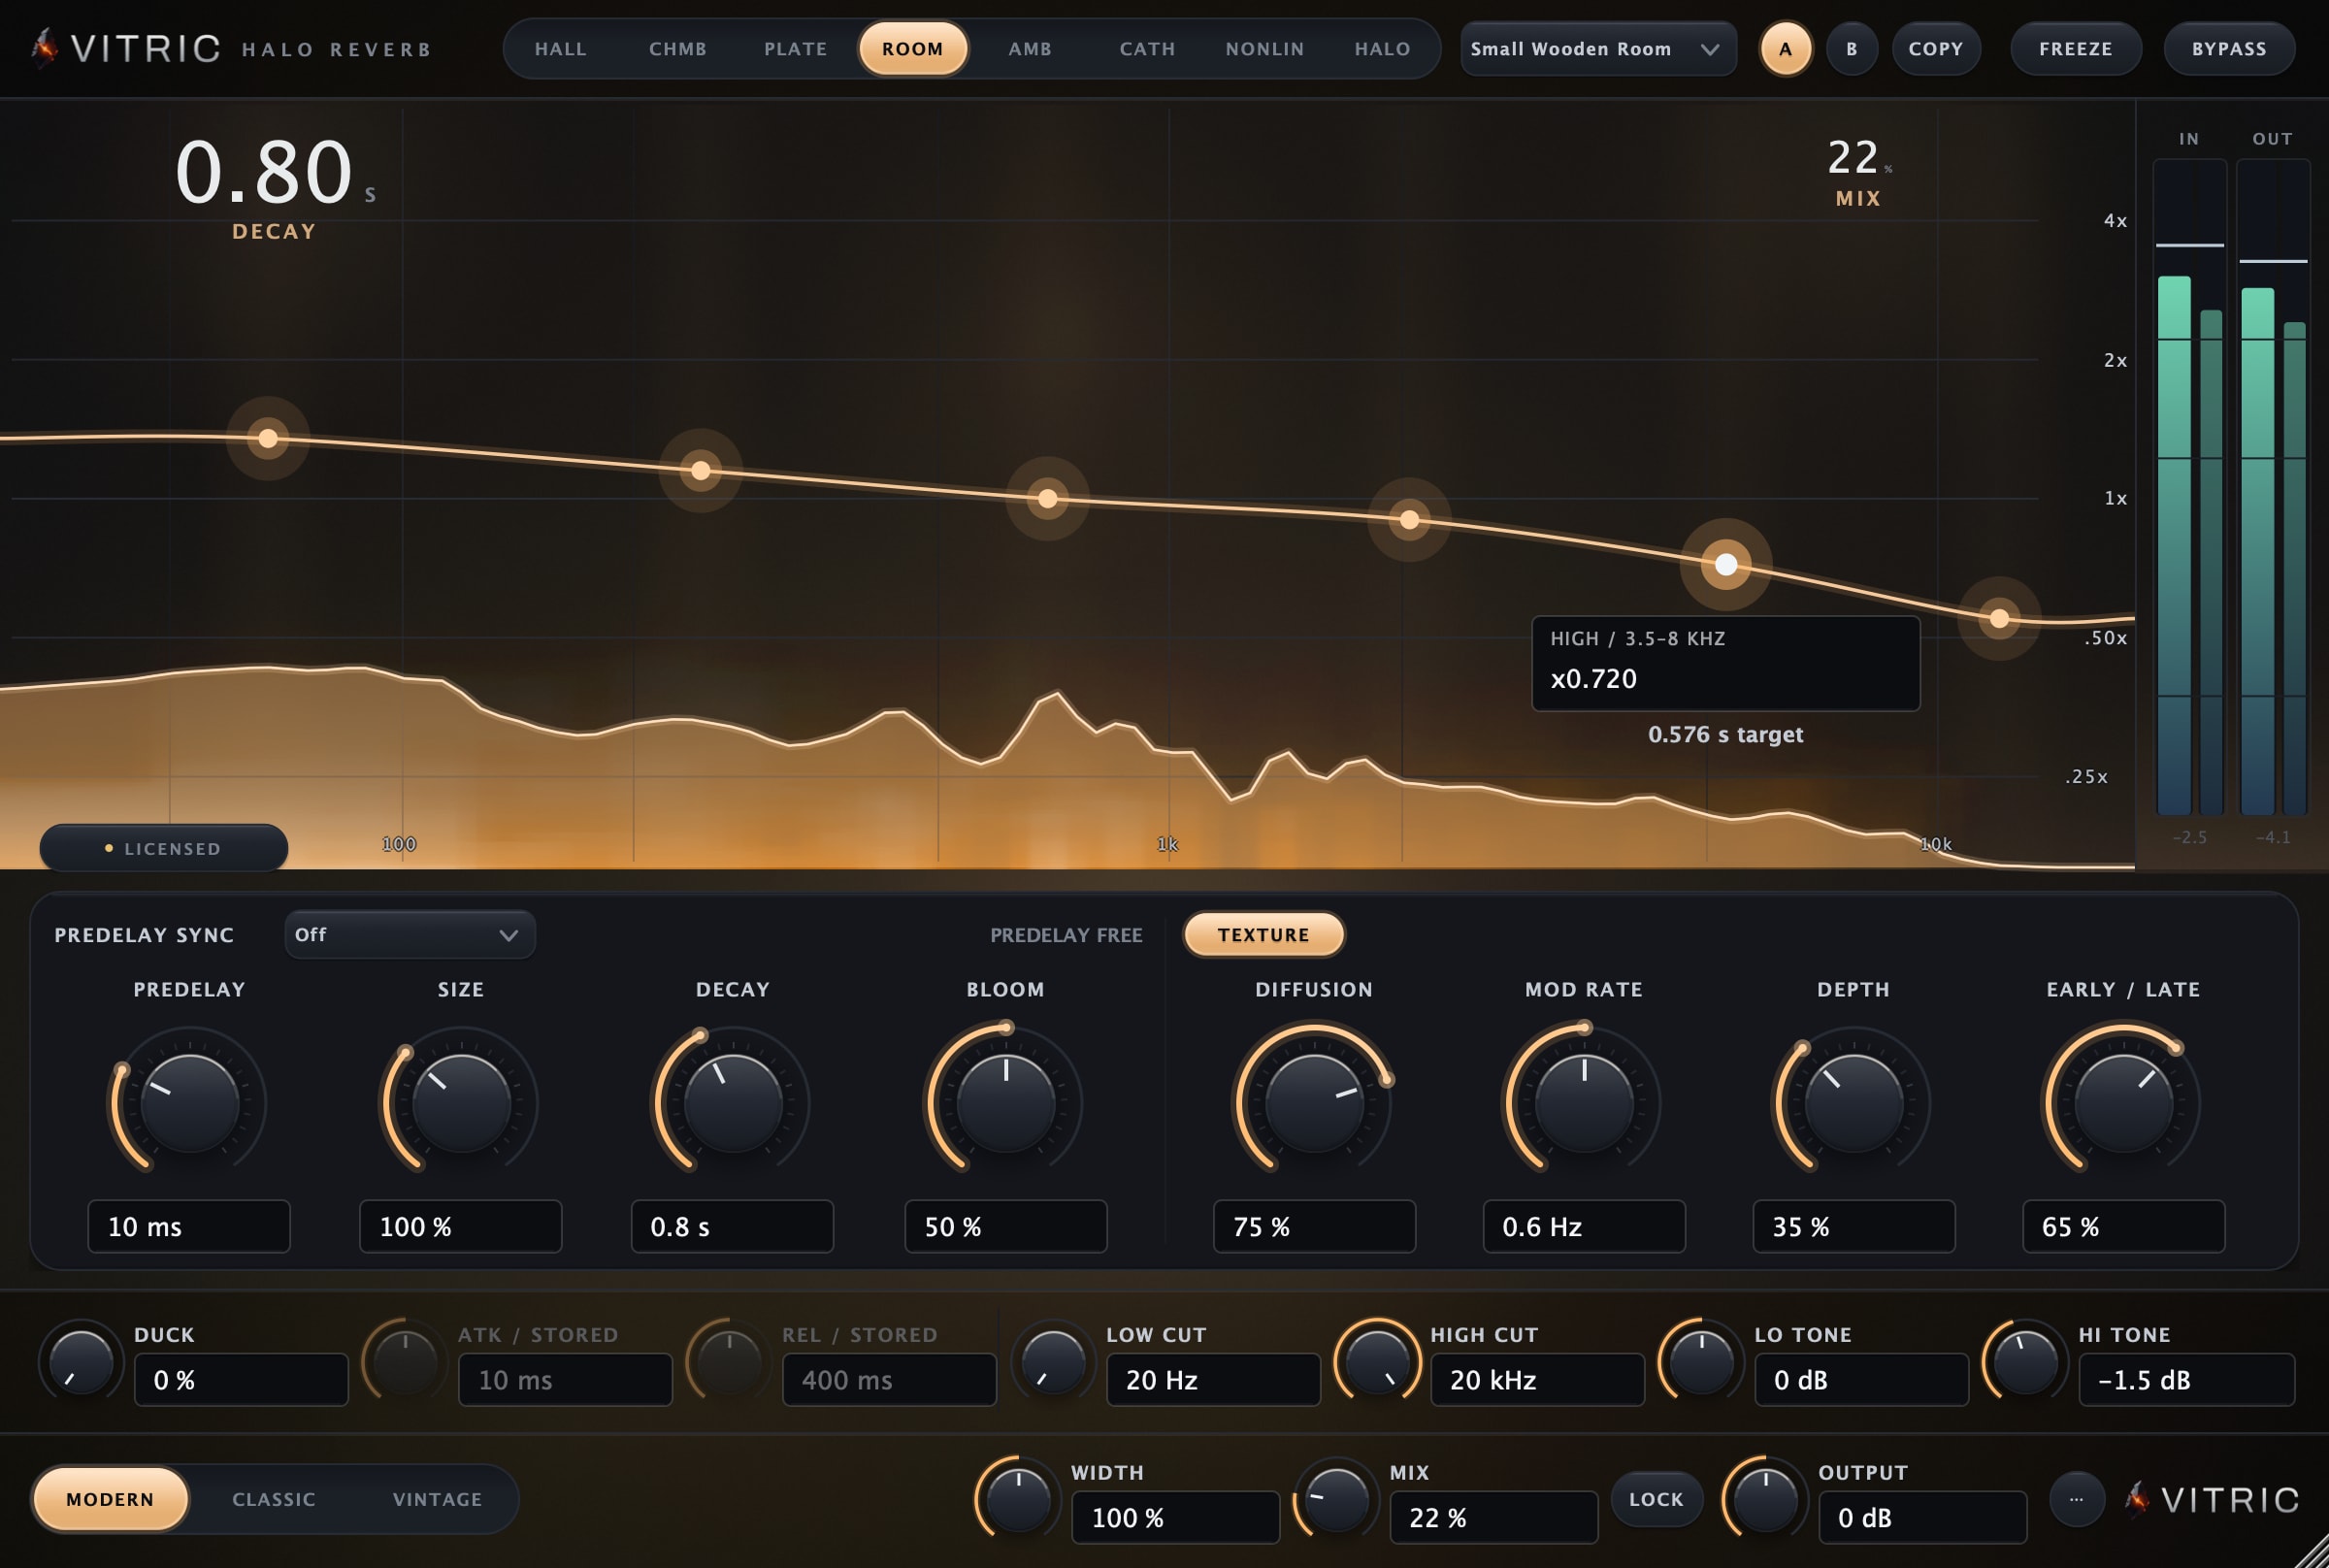
In Halo, choose a feedback space such as Room or Hall when exploring decay and its frequency contour. NONLIN uses a finite window and does not use the feedback decay contour. The Halo Reverb manual explains which controls apply to each space, including its ducking controls. This distinction matters more than transferring a number between two different algorithms and expecting the same result.
Keep a setting for a reason
Before saving the preset, finish one sentence: the pre-delay keeps the opening clear, the decay fills this particular gap, or the ducking makes room for the line. If you cannot hear what a change contributes, return to the simpler setting and compare again. A tempo-synced number is useful when it serves the performance.
Further reading: FabFilter’s explanation of basic reverb controls covers decay and frequency shaping. The arithmetic above is generated from Vitric’s calculator; the listening exercise is a procedure to try in your own session.