How to mix vocals, step by step
Mix a lead vocal in a fixed order: clean up, pitch, EQ, de-essing, compression, color, space and level. Each step fixes one thing, so the next one has less to do. Here is what each step is for and the settings to start from.
A lead vocal mixes most easily in a fixed order, because each step fixes one problem and leaves the next one less to do. Clean up the take, correct pitch only where it needs it, shape the tone with EQ, tame harsh esses, control the level with compression, add color, give it space, then ride the level against the track. Mix it in the context of the song, not soloed.
Start with the take
Choose the best performance for each line and put them together, fix timing that pulls against the beat, and remove noise between phrases. A mix can make a good take sound finished; it cannot make a weak one sound convincing.
Clean up
High-pass the vocal to remove rumble: start around 60 to 100 Hz at 12 dB per octave, raise the cutoff until the voice starts to thin, then back it down. A low voice may need a lower cutoff. Cut or turn down the gaps between phrases, and lower breaths that distract.
Pitch, gently first
Correct only the notes the ear catches. A slow correction speed keeps the voice natural; the fastest speed is an effect. Set the song's key and scale before anything else. The guide to using pitch correction covers the settings.
EQ: cut, then shape
Cut what gets in the way before adding anything: 1 to 3 dB of mud between 200 and 400 Hz, a small cut at Q 2 to 4 if the voice sounds nasal around 800 Hz to 1.5 kHz. Then, if it needs clarity, a broad 1 to 2 dB lift around 2 to 4 kHz. The vocal EQ guide has the full chart, EQ starting points covers other sources, and the EQ frequency chart shows where a voice sits.
De-ess
The harsh part of an s usually sits between about 5 and 9 kHz, higher for higher voices; sh sounds sit lower. A de-esser turns down only the moments they happen, which a static EQ cut cannot do without dulling the whole vocal. Either order works: the vocal compression guide de-esses after the compressor, and moves the de-esser in front of it when loud esses make it clamp down. See what sibilance is.
Compress
Start with one compressor around 3:1, 15 ms attack and 100 ms release, aiming for 3 to 6 dB of gain reduction, and compare at matched level. If one compressor cannot catch the peaks and level the phrases without sounding strained, use two light stages: a fast one catching 1 to 3 dB on peaks, then a slower one taking another 2 to 3 dB across the phrase. The vocal compression guide goes through each control.
Color
A little saturation adds harmonics that make a vocal denser, and a gentle high shelf adds air. Add both in small amounts and recheck the esses afterward: high-shelf boosts and saturation can bring them forward.
Space
Put delay and reverb on sends so they can be shaped on their own. Duck them under the vocal so they fill the gaps between words instead of covering them, and cut their high end so they sit behind the voice. Pre-delay keeps the start of each word clear: see reverb pre-delay vs decay.
Level and automation
Ride the vocal fader against the track last. A word that drops out, a line that pokes out, a chorus that needs to lift: a fader move fixes each of these more cleanly than more compression. Then check the vocal on small speakers and at a low volume, where every word should still be clear.
Vocal chain cheat sheet: the plugins in order
| Step | Start here |
|---|---|
| 1. High-pass EQ | 60 to 100 Hz, 12 dB per octave |
| 2. Pitch correction | Key and scale first; slow speed |
| 3. EQ | Cut 200 to 400 Hz; lift 2 to 4 kHz |
| 4. De-esser | About 5 to 9 kHz |
| 5. Compressor | 3:1, 15 ms attack, 100 ms release |
| 6. Saturation and air | Small amounts; recheck esses |
| 7. Reverb and delay on sends | Ducked, with the highs cut |
| 8. Fader rides | Last, against the track |
The de-esser and compressor can swap places. If one compressor strains, split the job into two light stages: a fast one on the peaks, then a slower one across the phrase. The numbers are where to start listening, not settings to copy.
Doing it in one window
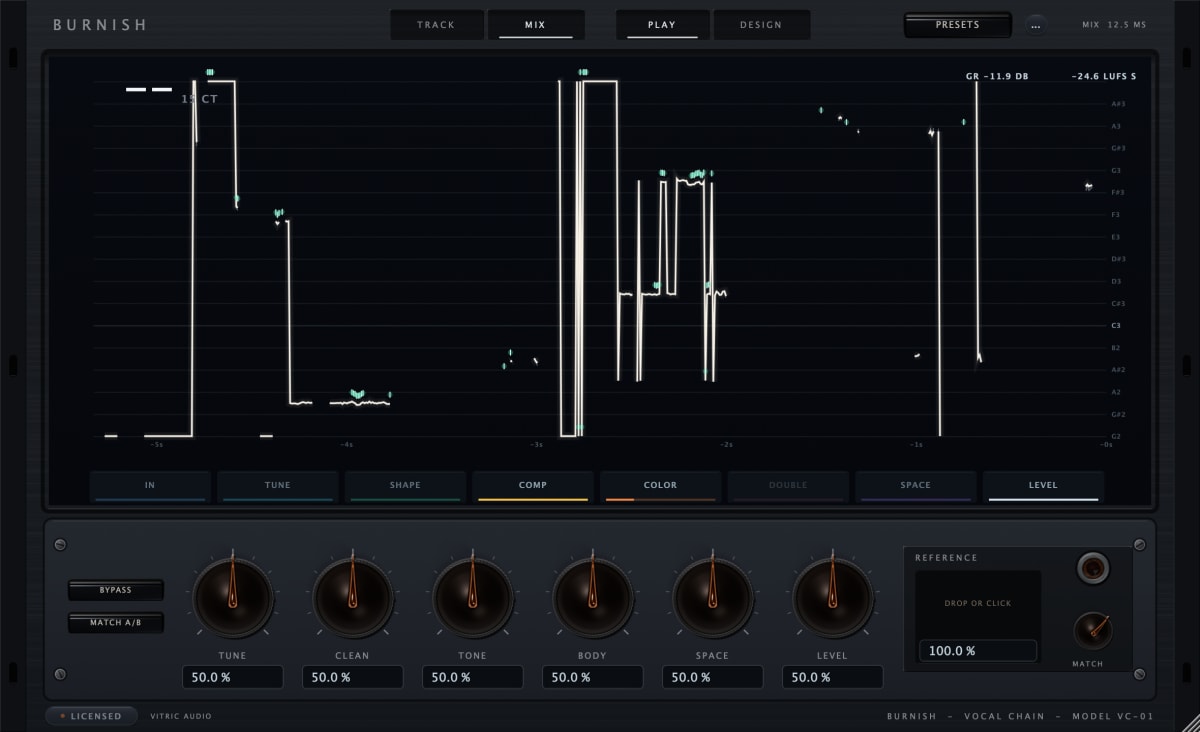
Burnish Vocal Chain follows the same order as this guide. It is a staged processor for one lead voice: input (trim, high-pass, gate, breath control and cleanup), pitch correction, shape (five EQ bands, de-harsh and de-ess), two compressors (FET and Opto), color (saturation and air), a doubler, delay and reverb, a loudness rider, a safety limiter and the output. It takes mono or stereo in and puts stereo out.
Questions
What order do I mix vocals in?
Clean up, pitch, EQ, de-ess, compress, color, space, then level. Each step makes the next one easier.
Should I EQ before or after compression?
Either works. Cut problems such as rumble and mud before compressing, so the compressor does not react to them, and add color and brightness after.
How loud should the vocal sit?
There is no fixed decibel figure. Loud enough that every word is clear at a low listening volume, without sitting on top of the track.